Usage
General
After installation PETdeface can be run from as follows:
petdeface /inputfolder --output_dir /outputfolder
Given a PET BIDS dataset like below:
tree /inputfolder
.
├── README
├── dataset_description.json
└── sub-PS50
    ├── anat
    │   ├── sub-PS50_T1w.json
    │   └── sub-PS50_T1w.nii
    ├── ses-baseline
    │   └── pet
    │       ├── sub-PS50_ses-baseline_pet.json
    │       └── sub-PS50_ses-baseline_pet.nii.gz
    └── ses-blocked
        └── pet
            ├── sub-PS50_ses-blocked_pet.json
            └── sub-PS50_ses-blocked_pet.nii.gz

6 directories, 8 files
The following output will be produced:
tree /outputfolder
/outputfolder
├── README
├── dataset_description.json
├── derivatives
│   └── petdeface
│       └── sub-PS50
│           ├── anat
│           │   ├── sub-PS50_T1w_defacemask.nii
│           │   ├── sub-PS50_desc-faceafter_T1w.png
│           │   └── sub-PS50_desc-facebefore_T1w.png
│           ├── ses-baseline
│           │   └── pet
│           │       └── sub-PS50_ses-baseline_desc-pet2anat_pet.lta
│           └── ses-blocked
│               └── pet
│                   └── sub-PS50_ses-blocked_desc-pet2anat_pet.lta
└── sub-PS50
    ├── anat
    │   ├── sub-PS50_T1w.json
    │   └── sub-PS50_T1w.nii
    ├── ses-baseline
    │   └── pet
    │       ├── sub-PS50_ses-baseline_pet.json
    │       └── sub-PS50_ses-baseline_pet.nii.gz
    └── ses-blocked
        └── pet
            ├── sub-PS50_ses-blocked_pet.json
            └── sub-PS50_ses-blocked_pet.nii.gz

14 directories, 13 files
Previously faced files are replaced with defaced images while the registration, mask files, and before and after photos are stored in the derivatives folder.
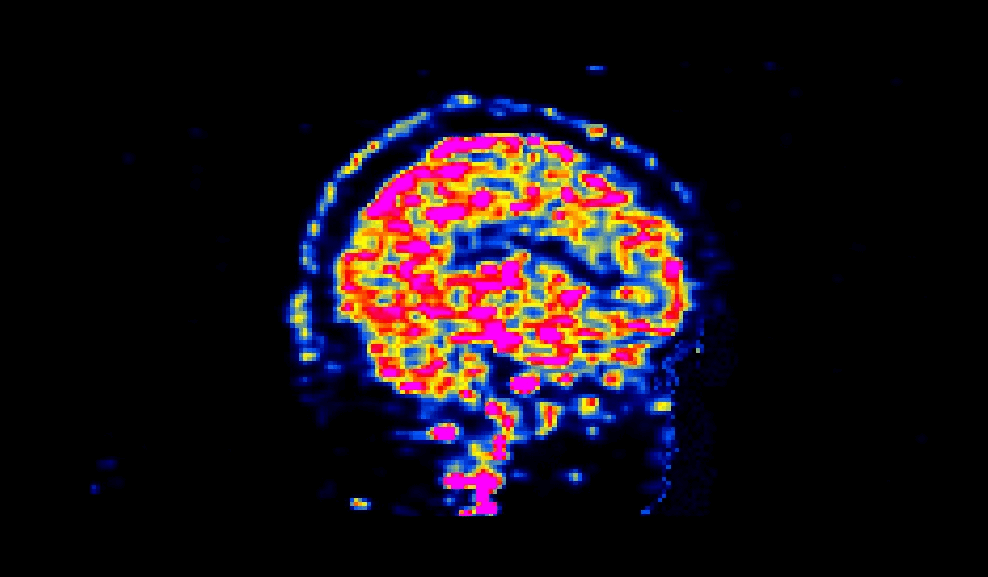
When viewed, a succesfully defaced PET image will have varying intensities in the face region, as shown below:
The number of processors made available to PETdeface can be set by the –n_procs flag e.g.:
petdeface /inputfolder /outputfolder --n_procs 4
Additional options can be found in the help menu:
petdeface -h
usage: petdeface.py [-h] [--anat_only] [--participant_label PARTICIPANT_LABEL [PARTICIPANT_LABEL ...]] [--docker] [--singularity] [--n_procs N_PROCS]
                [--skip_bids_validator] [--version] [--placement PLACEMENT] [--remove_existing] [--preview_pics]
                [--participant_label_exclude participant_label_exclude [participant_label_exclude ...]] [--session_label SESSION [SESSION ...]]
                [--session_label_exclude session_label_exclude [session_label_exclude ...]]
                bids_dir [output_dir] [analysis_level]
PetDeface
- positional arguments:
bids_dir The directory with the input dataset output_dir The directory where the output files should be stored, if not supplied will default to <bids_dir>/derivatives/petdeface analysis_level This BIDS app always operates at the participant level, if this argument is changed it will be ignored and run as a participant level
analysis
- options:
- -h, --help
show this help message and exit
- --anat_only, -a
Only deface anatomical images
- –participant_label PARTICIPANT_LABEL [PARTICIPANT_LABEL …], -pl PARTICIPANT_LABEL [PARTICIPANT_LABEL …]
The label(s) of the participant/subject to be processed. When specifying multiple subjects separate them with spaces.
- --docker, -d
Run in docker container
- --singularity, -si
Run in singularity container
- --n_procs N_PROCS
Number of processors to use when running the workflow
–skip_bids_validator –version, -v show program’s version number and exit –placement PLACEMENT, -p PLACEMENT
Where to place the defaced images. Options are ‘adjacent’: next to the bids_dir (default) in a folder appended with _defaced’inplace’: defaces the dataset in place, e.g. replaces faced PET and T1w images w/ defaced at bids_dir’derivatives’: does all of the defacing within the derivatives folder in bids_dir.
- --remove_existing, -r
Remove existing output files in output_dir.
- --preview_pics
Create preview pictures of defacing, defaults to false for docker
- –participant_label_exclude participant_label_exclude [participant_label_exclude …]
Exclude a subject(s) from the defacing workflow. e.g. –participant_label_exclude sub-01 sub-02
- –session_label SESSION [SESSION …]
Select only a specific session(s) to include in the defacing workflow
- –session_label_exclude session_label_exclude [session_label_exclude …]
Select a specific session(s) to exclude from the defacing workflow
- --use_template_anat
Use template anatomical image when no T1w is available for PET scans. Options: ‘t1’ (included T1w template), ‘mni’ (MNI template), or ‘pet’ (averaged PET image).
- --open_browser
Following defacing this flag will open the browser to view the defacing results
Docker Based
PETdeface can be run in a docker container using the –docker flag:
petdeface /inputfolder --output_dir /outputfolder --docker
Alternatively, if one is unable to install PETdeface from source or PIP, but can execute running a docker image they can run this pipeline usin the syntax below:
docker run --user=$UID:$GID -a stderr -a stdout --rm \
-v /Data/faced_pet_data/:/input \
-v /Data/defaced_pet_data/:/output \
-v /home/user/freesurfer/license.txt:/opt/freesurfer/license.txt \
--platform linux/amd64 \
petdeface:latest  /input \
--output_dir /output \
--n_procs 16 \
--skip_bids_validator \
--placement adjacent \
--user=$UID:$GID \
system_platform=Linux
One needs to create 3 bind mounts to the docker container when running PETdeface directly from docker:
/input needs to mounted to the input BIDS dataset on the host machine
/output needs to be mounted to the output directory on the host machine
/opt/freesurfer/license.txt needs to be mounted to the freesurfer license file on the host machine
If one is running PETdeface on a linux machine and desires non-root execution of the container,
the --user flag needs to be set to the UID and GID of the user running the container.
Of course all of the above is done automatically when running PETdeface using the --docker flag.
Singularity Based
PETdeface can also be run using singularity, however one will need access to the internet/dockerhub as it relies on being able to retrieve the docker image from dockerhub. The syntax is as follows:
petdeface /inputfolder --output_dir /outputfolder --singularity
Running petdeface in singularity will generate then execute a singularity command that will pull the docker image from dockerhub and run the pipeline.
singularity exec -e –bind license.txt:/opt/freesurfer/license.txt docker://openneuropet/petdeface:latest petdeface /inputfolder –output_dir /outputfolder –n_procs 2 –placement adjacent
PETdeface will do it’s best to locate a valid FreeSurfer license file on the host machine and bind it to the container by checking FREESURFER_HOME and FREESURFER_LICENSE environment variables. If you receive an error message relating to the FreeSurfer license file, try setting and exporting the FREESURFER_LICENSE environment variable to the location of the FreeSurfer license file on the host machine.
Template Anatomical Images
When PET scans lack corresponding T1w anatomical images, PETdeface can use template anatomical images for registration and defacing. Three options are available:
`–use_template_anat t1`: Uses a T1w template included with the PETdeface library
`–use_template_anat mni`: Uses the MNI standard brain template
`–use_template_anat pet`: Creates a template by averaging a subjects PET image and using that averaged image in place of a T1 image
Important: When using template anatomical images, it’s crucial to validate the defacing quality. Inspect the output using the generated HTML report (with –open_browser) or a NIfTI viewer to ensure the defacing is valid for your data.
Recommended workflow for subjects missing T1w images:
First, exclude subjects missing T1w using –participant_label_exclude
Run defacing on subjects with T1w images
Then run defacing separately on subjects missing T1w using –participant_label and test different templates (t1, mni, pet) to determine which works best for your data
Example usage with template anatomical:
petdeface /inputfolder /outputfolder --use_template_anat t1 --n_procs 16